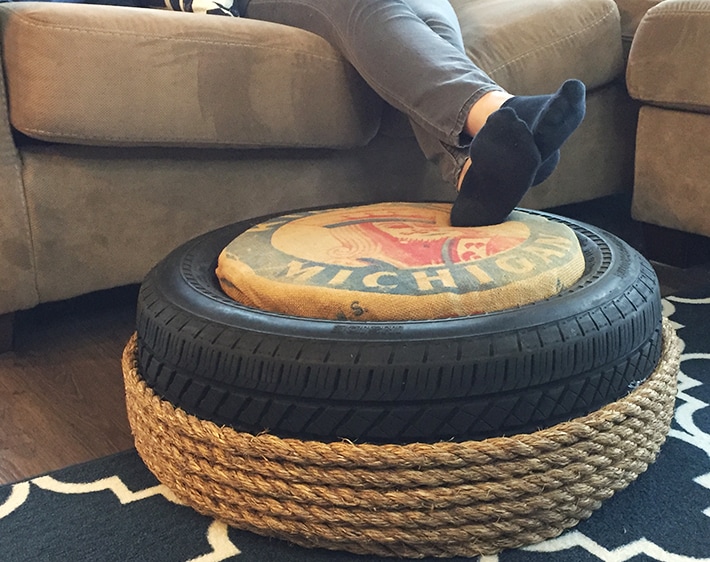
New furniture can be expensive and time-consuming to find. Rather than throwing away your hard earned paycheck to get a showstopping centerpiece for your living room, create a DIY ottoman out of an old tire. Not only is it sustainable for the environment, but it is also a fun project you can complete on a slow weekend. Just make sure to keep the kids away from any power tools or hot glue guns being used!
And there’s an added bonus. This DIY tire ottoman has a secret storage compartment so you can clean up all the toys laying around the house and hide them inside.
Supplies You’ll Need:
- Used tire (We chose a Bridgestone DriveGuard tire due to its incredible durability)
- Cleaning wipes
- Burlap sack or cloth
- Plywood
- Jigsaw or router with circle cutter attachment
- Foam padding (we used 1” thick)
- Rope
- Industrial hot glue gun
- Hot glue sticks
- Staple gun
- Tape measure
- Pencil
- Compass
- Scissors
- OPTIONAL: Batting (if using 2” or greater foam)
Steps for Recycling Your Old Tire
Step 1: Using disinfectant wipes, clean off any old dirt or grit from your tire.
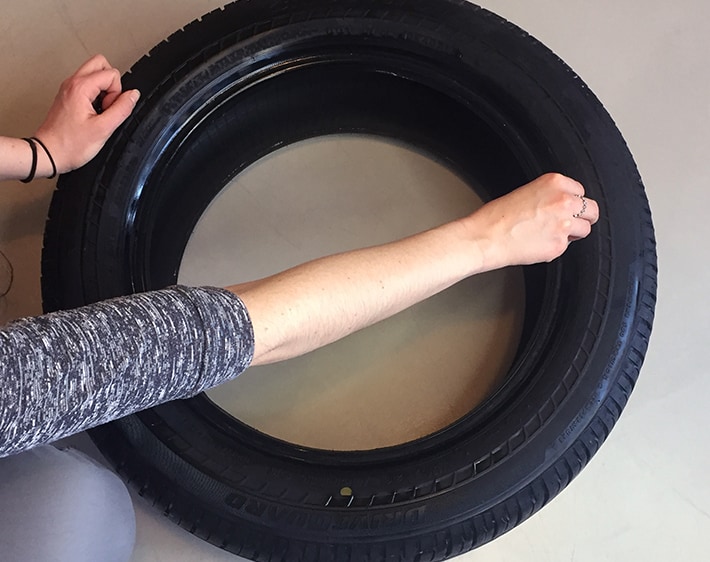
Step 2: Once your hot glue gun is preheated, glue the rope to the lip of the tire. This will help prop the tire up.
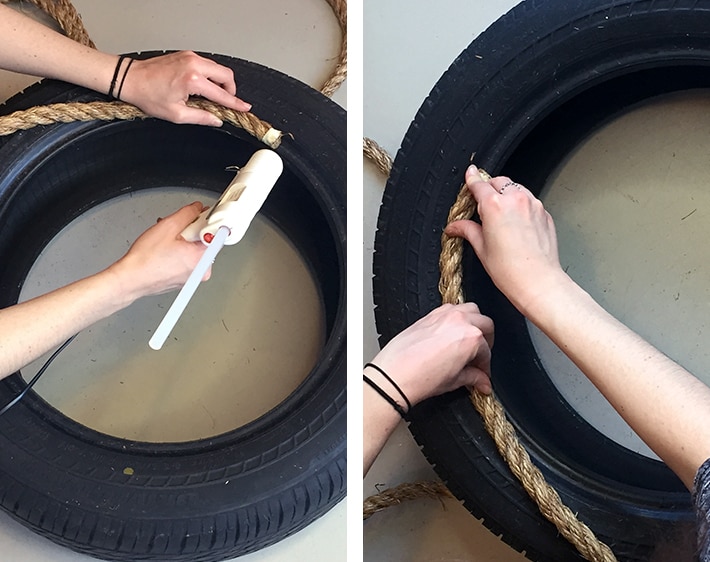
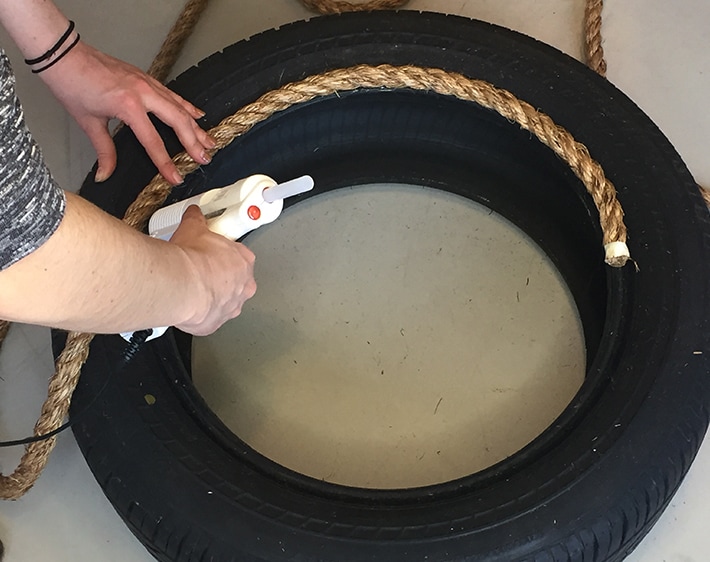
Step 3: Wrap the rope around the perimeter of the tire and continue wrapping tightly, making sure each layer is sitting right on top of the one before. Make sure to place glue down as you go. Once you hit the halfway point on the tire, cut your rope.
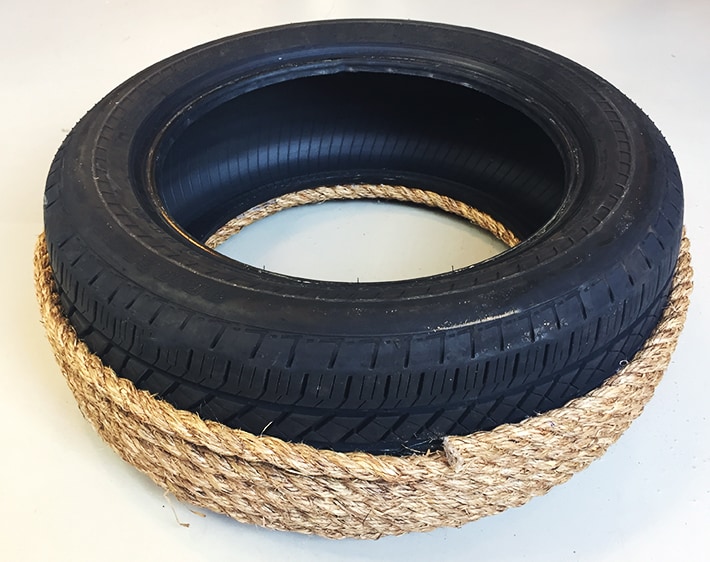
Step 4: To make the ottoman topper, begin by placing the rope-covered side of the tire on the ground. Grab your tape measure and find the diameter of the hole on the top of the tire, measuring slightly wider than the hole. To do this, place your tape measure into the lip of the tire, about .25 inches or more, and measure across to the lip of the opposite side.

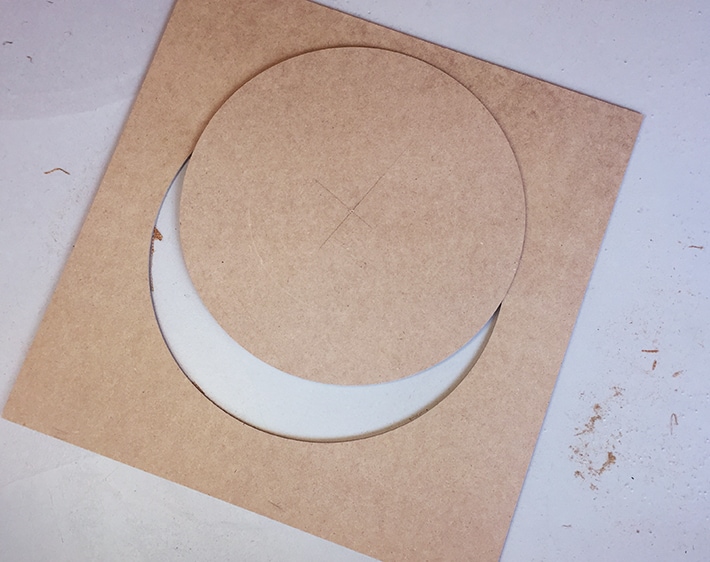
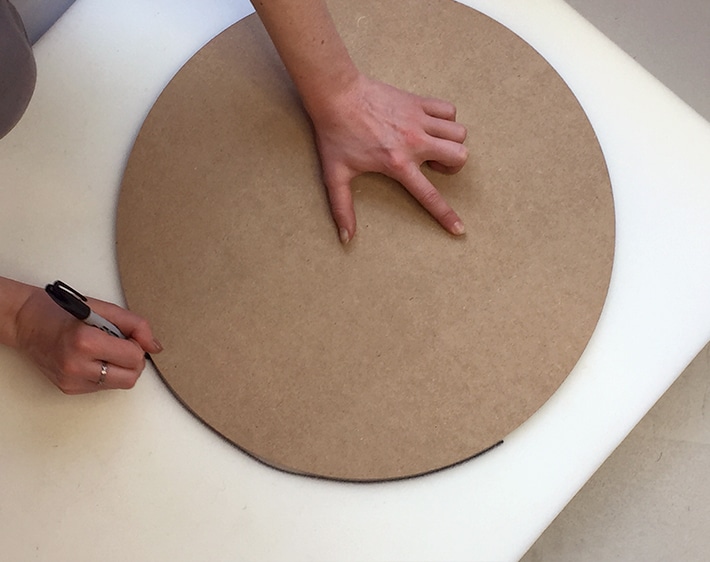
Step 5: Mark you plywood board with a dot at the center. Using a compass, draw a circle with the same diameter you measured. Then, use your jigsaw to cut the circle out. To do this, drill a hole at a point along the circle, enough to accept the jigsaw blade. Repeat this around the circle every inch or so to make cutting easier. Place your jigsaw in one of your pre-drilled holes and cut out your circle, connecting the drilled dots.
Step 6: Trace the plywood circle onto foam. We used 1-inch foam without batting. However, if you opt for a thicker foam, it will need batting. Batting holds the foam and board in place, increasing the durability and evenness of your finished product.
Step 7: Cut your circle out of the foam.

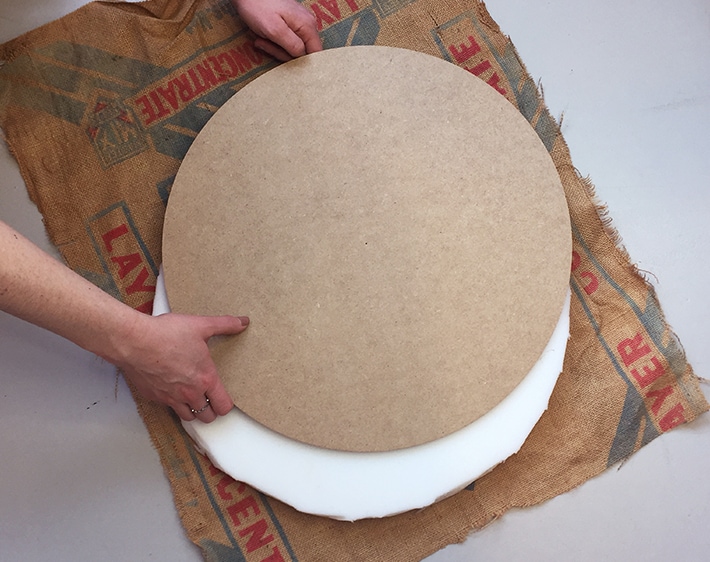
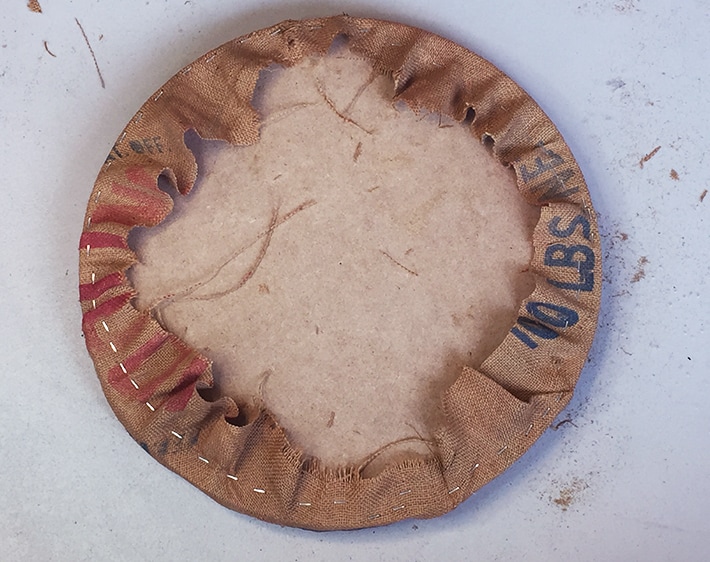
Step 8: Place your burlap sack on the ground or table, with the pattern you want to be seen facing away from you. Then, place the foam layer and plywood circle on top of it. If using batting, layer the batting around the foam and board first, securing it with a few staples, before wrapping the burlap sack around and completing the cushion.
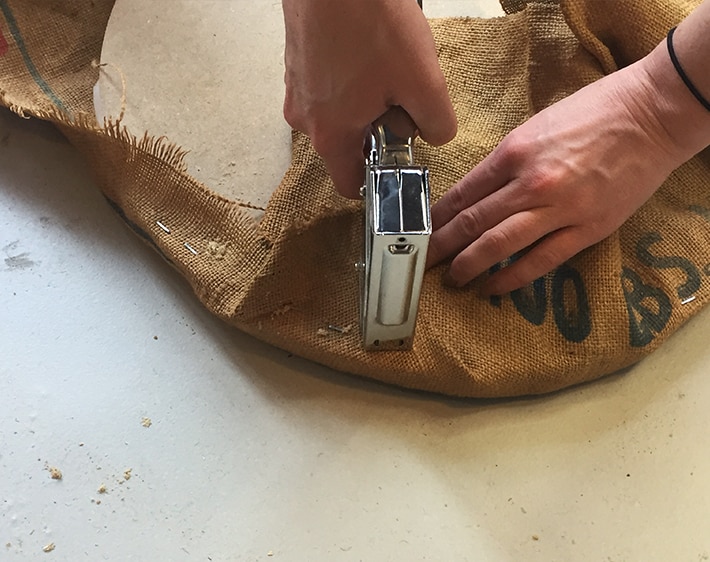
Step 9: Use your staple gun to secure the burlap sack to the plywood. Get as close to edge as possible. Rather than stapling in a circle, start by stapling opposite ends, ensuring the burlap sack stays taught. Remember, if using batting, do this step with the batting first, before securing the burlap sack around.
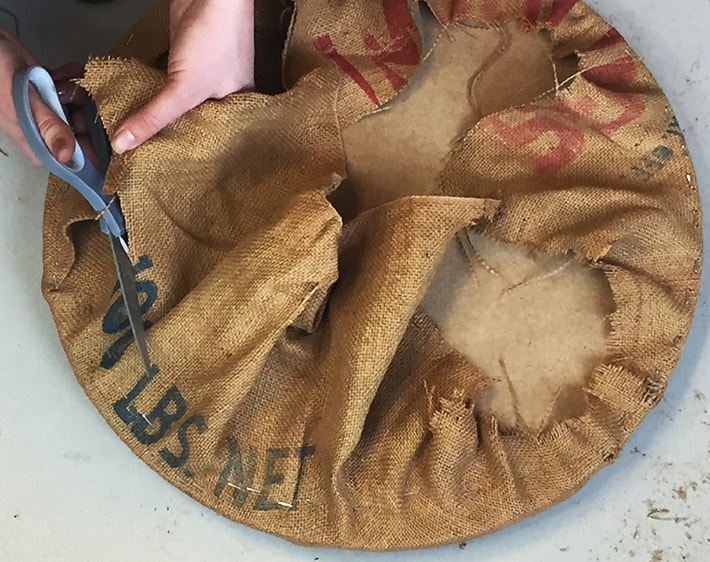
Step 10: Use your scissors to trim the excess burlap. Leave about two inches past the staple to prevent the burlap from fraying and coming undone.
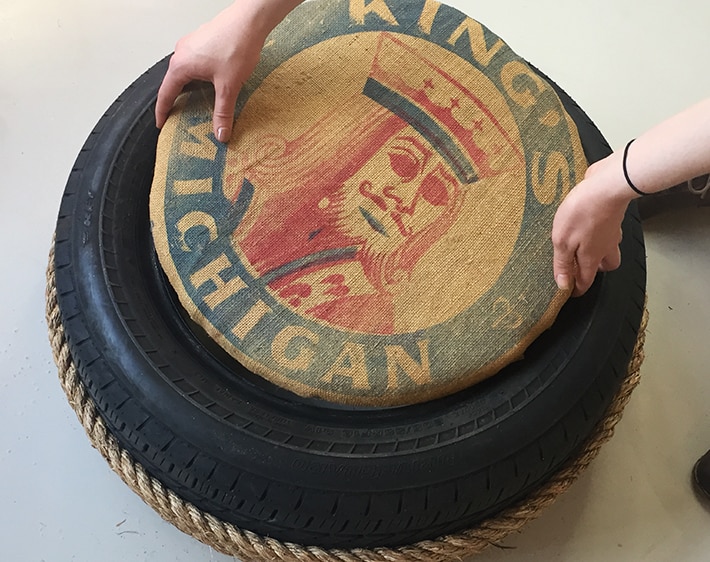
Step 11: Place your padded topper on top of the tire. If you’d rather skip the storage component and have a more secure ottoman, you can choose to glue the topper onto the tire.
Congrats! You’ve just completed an awesome project turning an old, unusable tire into a colorful addition to your home. Show off your new masterpiece to all your friends and family.
If you’re in need of new tires head to your local Tires Plus. Or check out our latest tire and auto service coupons.