Whether you’re getting ready to sell your car or just need a productive project to keep you busy this weekend — deep cleaning your car is a great idea! Save yourself some serious cash by skipping the premium car wash and going the DIY car detailing route instead. With these tips, you can clean everything from your car’s exterior to those pesky nooks between the seat and the center console!
Start from the inside out.
For the ultimate DIY car detailing satisfaction, we recommend you move from the interior of the car to the exterior. Not only is cleaning a car’s interior usually the more expensive add-on to any detailing service, but lessening the amount of stuff you’re carrying inside your vehicle could help you save money on gas. According to HowStuffWorks, removing 100 lbs of stuff could boost your fuel economy by 1% to 2%!
1. Unload all the extra weight.
What you’ll need: Boxes or reusable grocery bags (optional)
When deep cleaning your car’s interior, you’ll want to start by removing all the extra items you’ve been hauling in the trunk and backseat. Try to make every surface, from the floorboards to the backseat pockets, as clutter-free as possible. Remove things like bags of stuff you’re planning on donating, your old gym bag, the kids’ forgotten lunch boxes, and extra charging cables!
Sort these things into piles — one for donation, one for trash/recycling, another for storing back at home, and one for the essentials you need to put back in your car for daily use.
2. Remove smaller odds and ends.
What you’ll need: Patience!
Once you’ve unloaded the clutter, comb through the car’s floorboards for smaller items like coins, candy wrappers, old receipts, pens, etc. These items are small enough to miss on the first pass but big enough to clog up your household vacuum — which you’ll be using in the next few steps. Make sure you don’t miss anything by sliding the seats forward and back when you do this.
3. Clean the seats.
What you’ll need: An owner’s manual-approved cleaning agent, an old toothbrush or gentle sponge, and a microfiber cloth (will vary depending on your seat material)
You’ll want to use different cleaning agents depending on your car seat’s material and manufacturer’s recommendations. Generally, vinyl seats can be wiped down with distilled water. Cloth seats can be cleaned with mild laundry detergent diluted in distilled water, and leather seats should be gently wiped down with water or a ph-neutral leather cleaner. However, you should always check your owner’s manual before getting started.
Cleaning vinyl seats: Some manufacturers of cars with vinyl or synthetic leather seats recommend that these be cleaned with gentle soap diluted in water. If you’re dealing with particularly stubborn stains, you may consider allowing the soapy mixture to soak in for a few minutes before dabbing it off with a clean, moist cloth. Additionally, some carmakers may recommend the use of dedicated vinyl cleaners for problematic areas.
Cleaning fabric seats: Generally, fabric seats don’t need to be cleaned as often as leather ones, but you should still try to clean them following your car manual’s directions. Typically, you’ll start by using a dry brush to get rid of loose stains like caked-on mud or cookie crumbs. Then, dab a moist microfiber cloth on any smudges. If the seats are still dirty, your manual may recommend diluting gentle fabric cleaner (like baby laundry detergent) with water to create a stain-busting cleaning solution. You can apply this solution using an old toothbrush and wipe it off with a damp towel.
Cleaning leather seats: Genuine leather requires diligent and regular care! Many owner’s manuals recommend that you wipe down your car’s leather seats at least once a month using a soft fiber cloth, lightly dampened with water. Wring out the cloth before dabbing it on the leather to avoid soaking the cushions through the leather’s perforations and stitching. For stubborn stains, your car’s manufacturer may also recommend treating the seats with a ph-neutral leather cleaner.
Regardless of the type of seat material you’re dealing with — you should always follow your manual’s directions on how and when to clean your seats, and avoid splashing or spilling liquids inside your vehicle!
4. Clean the seatbelts, too!
What you’ll need: A clean cloth, slightly dampened with distilled water
Cleaning the interior of your car gives you a perfect chance to check that all your seatbelts are clean and in good working order. First, ensure that all belts and buckles are in their place — the fasteners in the back may have gotten caught behind the seats after the last time you folded them down. Once everything is in its place, get to work by wiping the belts and buckles with your moist cloth.
Pay attention to the belts’ conditions — are they frayed or torn? Are they getting stuck when pulled? Do they retract properly? If anything isn’t working smoothly, check in with your car’s manufacturer for further direction. Safety comes first!
5. Dust off the floor mats.
What you’ll need: A vacuum and vacuum extension tools (if available)
Unhook and remove your car’s floor mats (don’t forget about the one in the trunk!). Shake out any excess dirt into the nearest trash can and lay them down on a clean surface. Then, vacuum off stubborn patches of mud and gunk. If your car’s mats are stained, follow the manufacturer’s recommendations on cleaning. Generally, for textile-based rugs, you’ll want to apply a foaming carpet cleaner and wipe it off using a damp towel. Weather-proof rubber mats, on the other hand, may be cleaned using soapy water and a brush.
6. Vacuum the car’s interior.
What you’ll need: A vacuum and extension tools
Before fitting the floor mats back into place vacuum the floorboards, seats, and trunk space. If your vacuum cleaner has an extension hose, use it to get into hard-to-reach spots like the cupholders, door pockets, and the gap between the center console and the seats.
7. Clean the dashboard and console.
What you’ll need: A clean microfiber cloth, clean water, a gentle surface cleaner, and dashboard polish (optional)
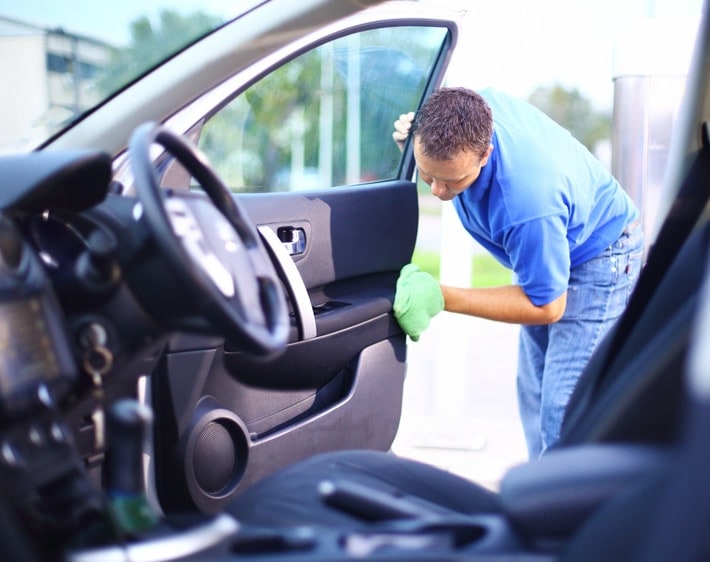
Dip a clean microfiber cloth in water and wring it out. Use the damp cloth to gently wipe down your car’s center console, dashboard, and interior doors. If you run into any stubborn stains or messes, use a gentle surface cleaner to spot-treat the area and wipe it down with your damp cloth. Last but not least, if you feel like your car’s dashboard lacks its original luster, apply a dashboard polish.
Detail the exterior!
Now that the inside of your car is squeaky clean, it’s time to make the exterior sparkle, too! Not only will washing your vehicle make it look better but doing so may also help improve your road visibility and protect the paint job by removing abrasive dust and debris from the car’s surface.
1. Wash the car.
What you’ll need: A specialized car soap, soft sponge, microfiber mitt, hose, and two buckets of water
Dilute the car soap in one of the water buckets according to the instructions on the label. Then, use your garden hose to wet the car. Once the exterior is wet, dip your sponge or mitt into the soapy water and use vertical strokes to clean each side of your car from top to bottom (this will help ensure you don’t miss any spots). If you notice that your sponge is getting dirty, rinse it off in the second water bucket and wring it tightly before moving to the next spot.
Once you’ve scrubbed down the entire vehicle, hose it down to remove any remaining suds and use a clean microfiber cloth to wipe it dry.
2. Wax the surface.
What you’ll need: Carnauba or polymer-based car wax and a microfiber cloth
Car wax can help give your car’s exterior a more polished look while also protecting it from sun damage. Consult your owner’s manual for recommendations on which type and brand of wax to use.
Generally, the easiest car wax for DIY detailing is one that comes in a spray bottle. Most spray waxes can be applied directly to the car’s surface and then rubbed in using a damp microfiber cloth.
3. Clean the windows.
What you’ll need: Automotive glass cleaner and a clean microfiber cloth
Now that you’ve taken care of the paint job, it’s time to move on to your car’s glass surfaces. Use a specialized automotive glass cleaner (not your household window spray). Once you’ve applied it, wipe it clean using your microfiber cloth.
4. Polish the wheels (optional).
What you’ll need: A hose, car wash soap, two buckets (can be the same buckets used in step one), a soft-bristled brush, and a microfiber towel
For the ultimate DIY car detail, give your rims some TLC! Brake dust, road dirt, and mud can cake up on the wheels, taking away from your vehicle’s polished look. To clean the wheels, start by rinsing them lightly with a hose. Then, dip a soft-bristled brush into the soapy water bucket you used to wash the car. Lightly scrub each wheel, paying special attention to hard-to-reach nooks and crannies. Let the suds sit for a few minutes and then hose them off to reveal your newly-cleaned rims. Wrap things up by towel-drying each wheel and admiring your hard work! Whew!
Keep a squeaky clean maintenance record.
Performing a DIY car detail is a great weekend project and an easy and inexpensive way to take care of your car at home! However, not all car care is DIY. For the automotive services you can't do yourself, turn to your local Tires Plus! We’ve got you covered with auto maintenance coupons and weekend and evening appointment times to fit with your schedule.